
Initial setup
On its very first start, a new instance has no database, no configuration and no account. Rather than leaving you to edit files by hand, it serves an installation wizard on its usual port. Five screens are enough: the wizard writes the configuration itself, creates the schema, then starts the instance — with no restart.
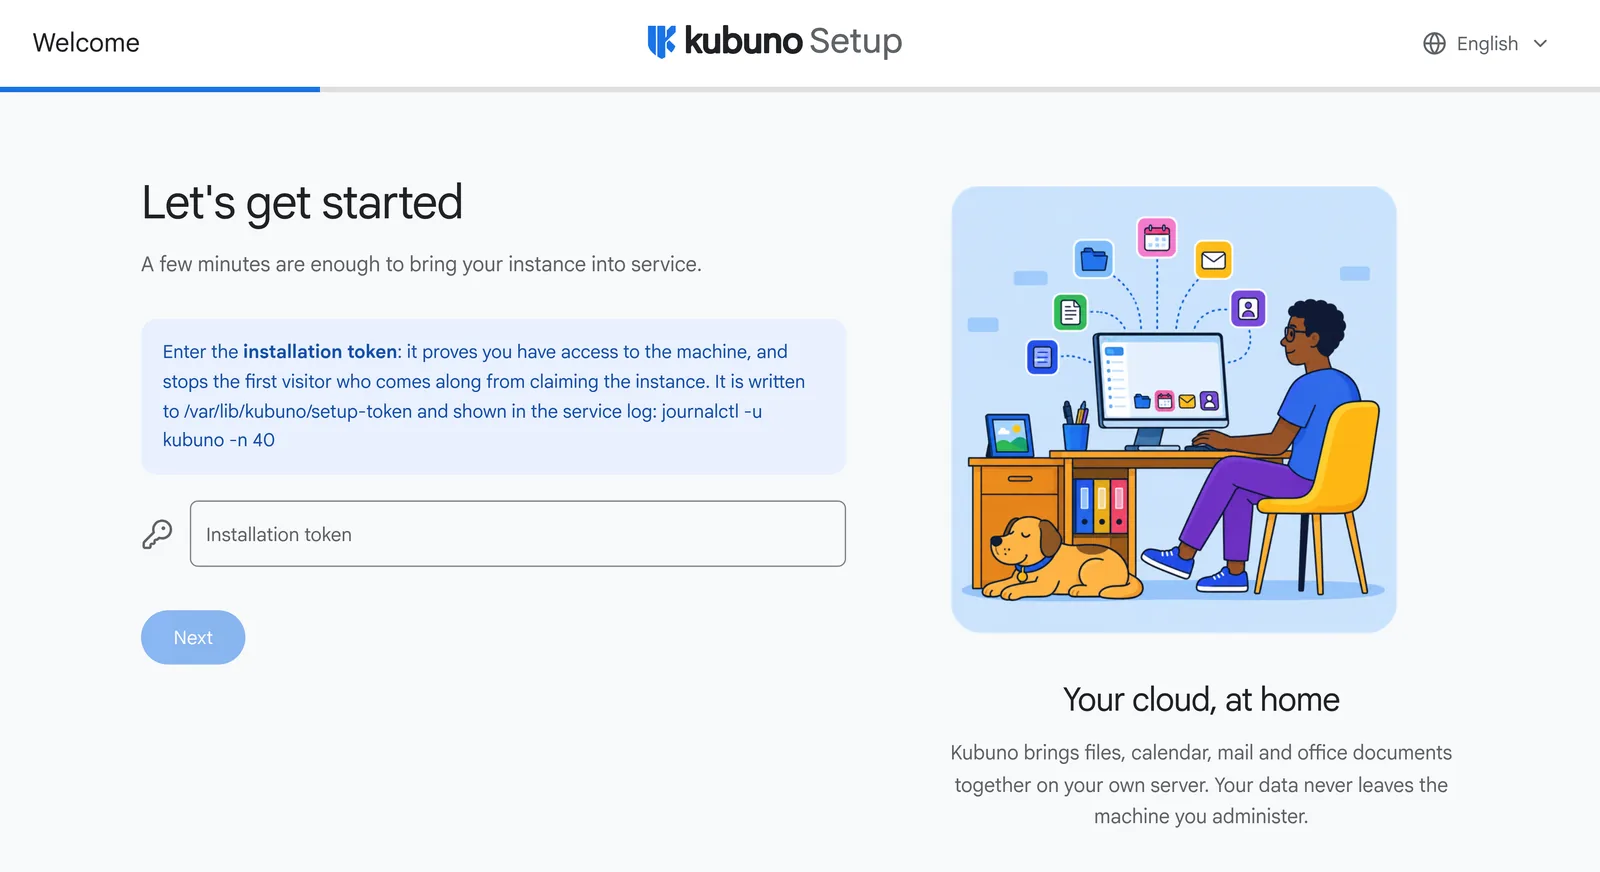
1. The installation token #
Between the first boot and the end of the installation the instance has no accounts: it is the one moment when whoever reaches the port first could claim it. The wizard therefore asks for a token, written on the server and shown in the service log. It is deleted as soon as the installation succeeds.
sudo cat /var/lib/kubuno/setup-token
# ou
journalctl -u kubuno -n 40The wizard opens in English whatever the browser says: this is a server being commissioned, and you are the one who states its language. The selector at the top right offers the thirteen languages shipped; the one you pick becomes the instance's default language.
2. The database #
Fill in the PostgreSQL connection, then test it: the wizard says plainly what is wrong (password refused, host unreachable, database missing) instead of leaving you to guess. If the database does not exist yet and the account may create it, it offers to do so during the installation.
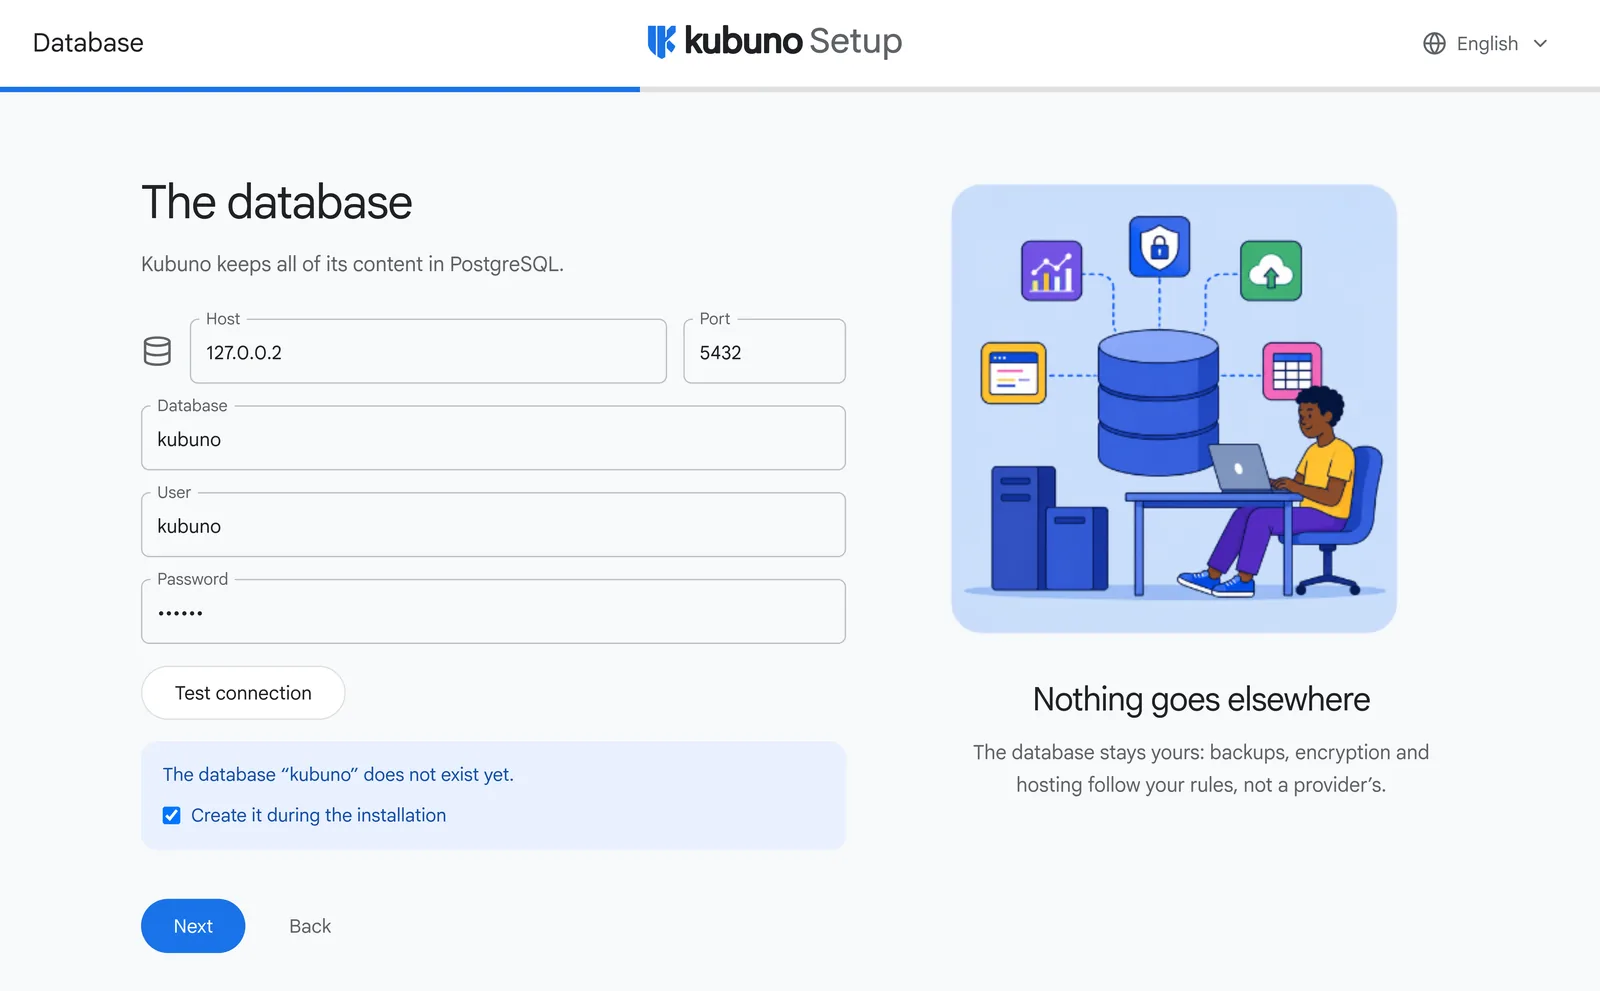
Pointing the wizard at a database that already carries a Kubuno schema is supported: it reuses it without erasing anything and keeps the administrator recorded there. That is how you rebuild a lost configuration file.
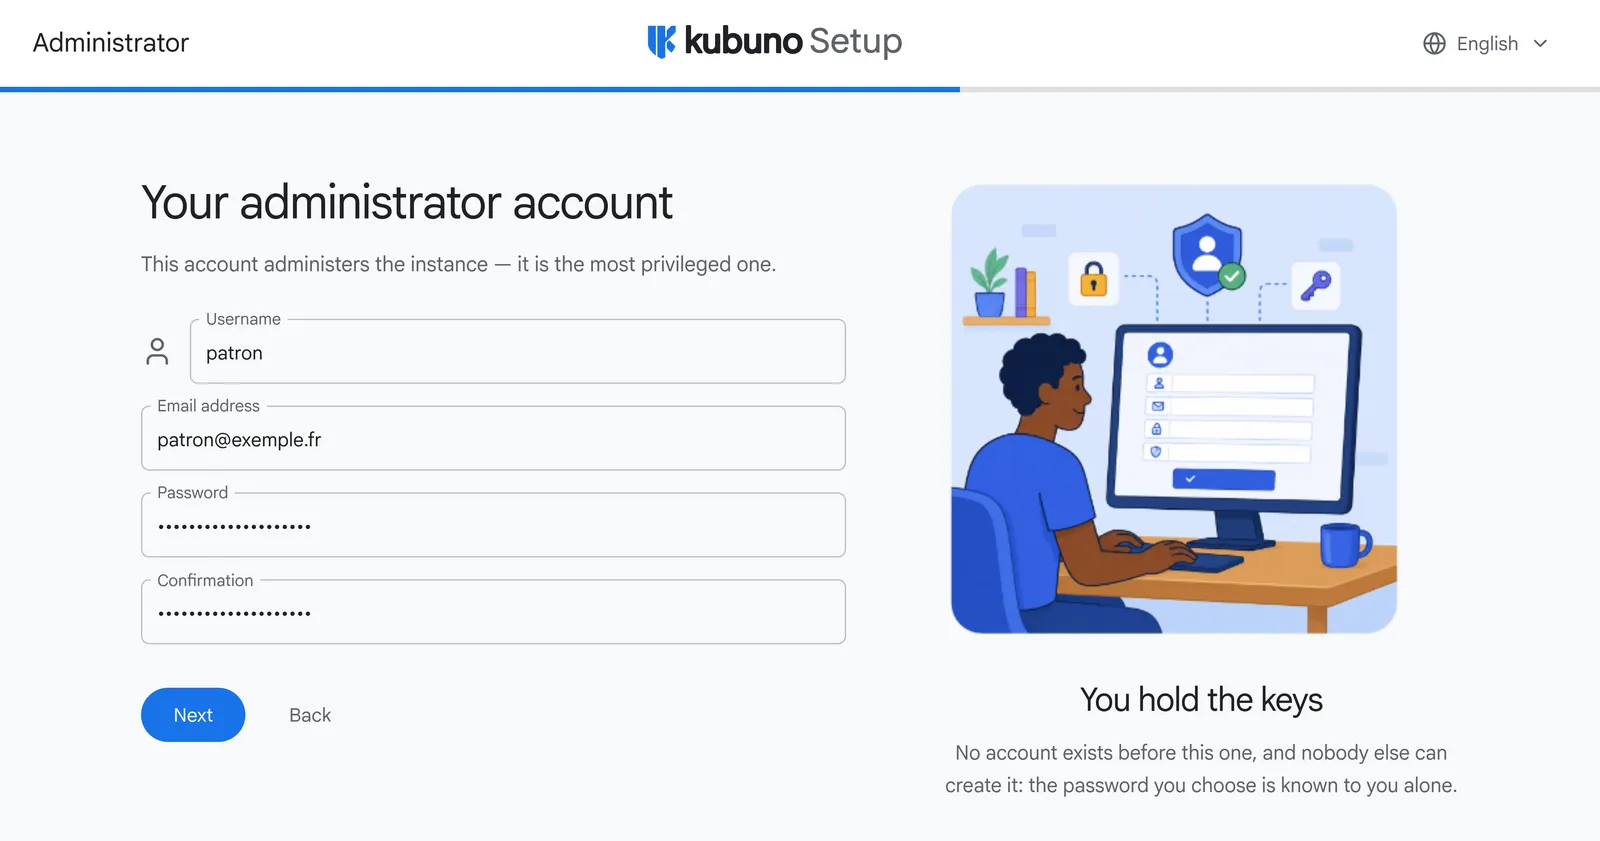
3. The administrator account #
This is the instance's most privileged account, and nobody else can create it: the password you choose is known to you alone. Twelve characters minimum.
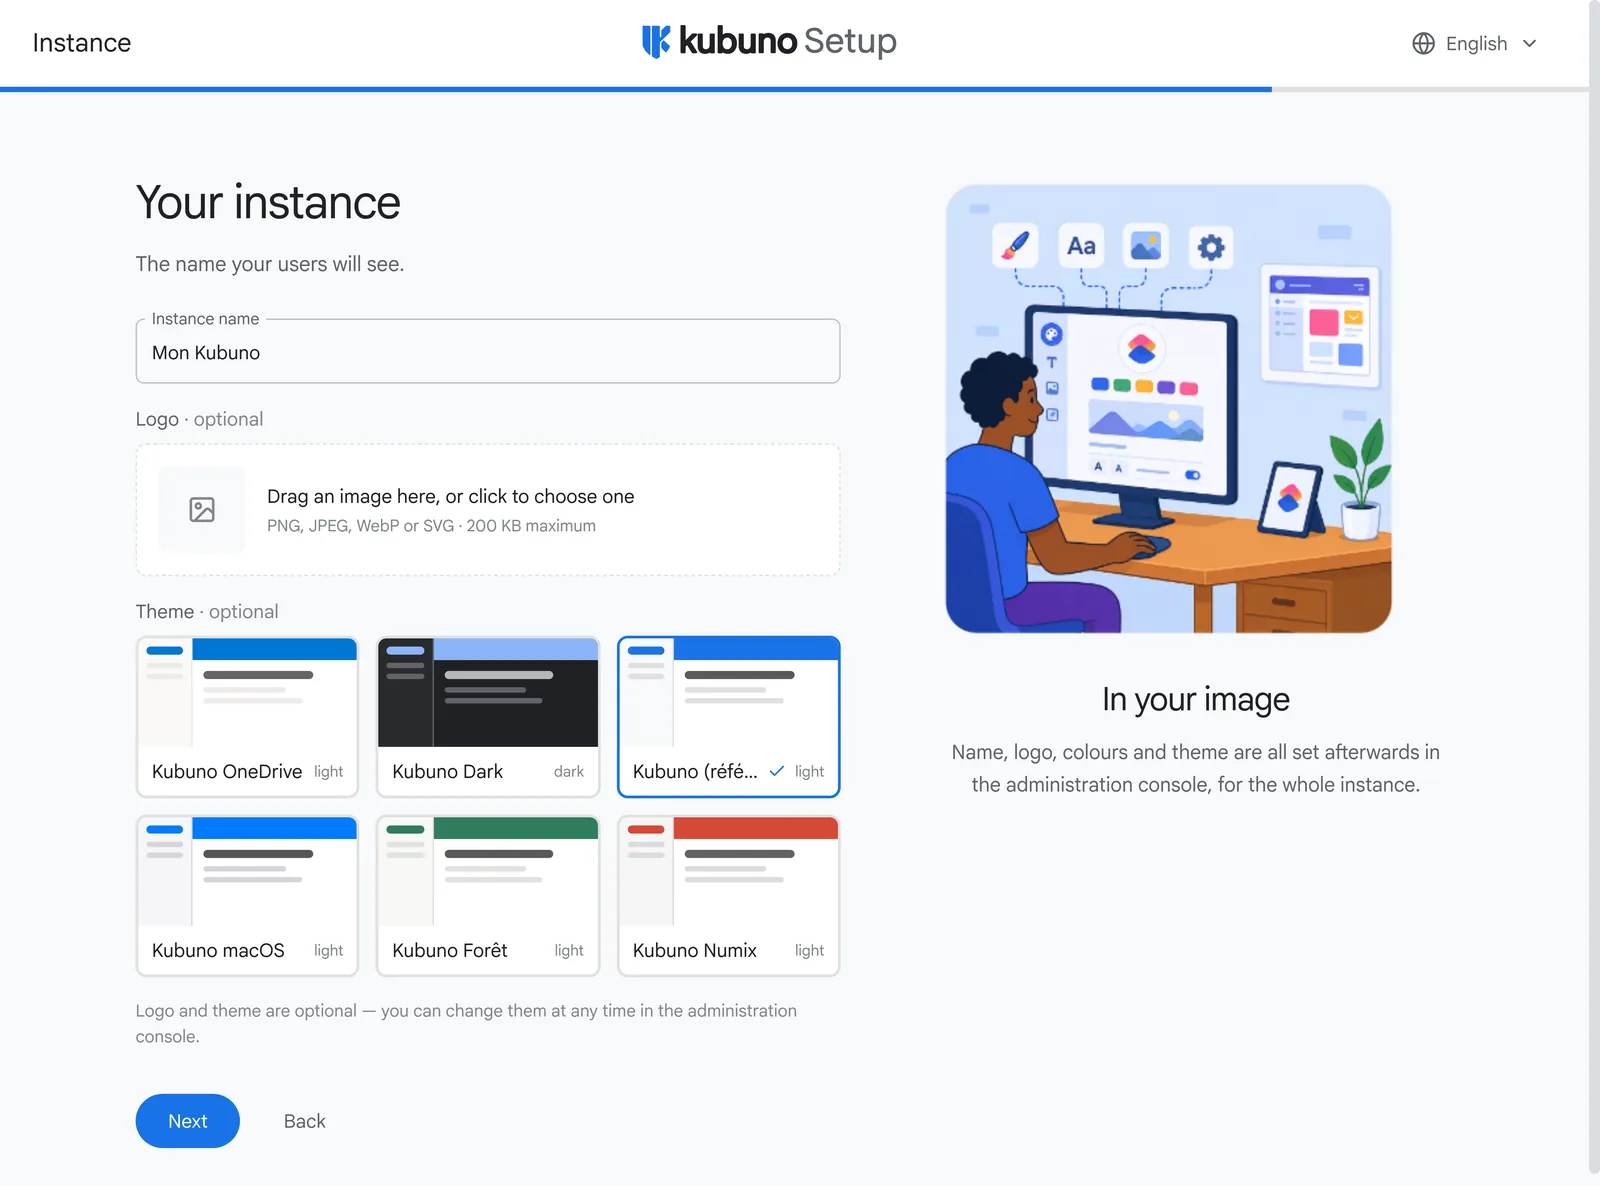
4. Name, logo and theme #
The name your users will see and — optionally — a logo and one of the themes shipped with the core. The chosen theme applies to the wizard itself, at once: you finish the installation in the look of your future instance.
5. Installation #
A summary, then the wizard creates the schema, writes the configuration and steps aside: the real instance starts on the same port and the page moves on to the sign-in screen.
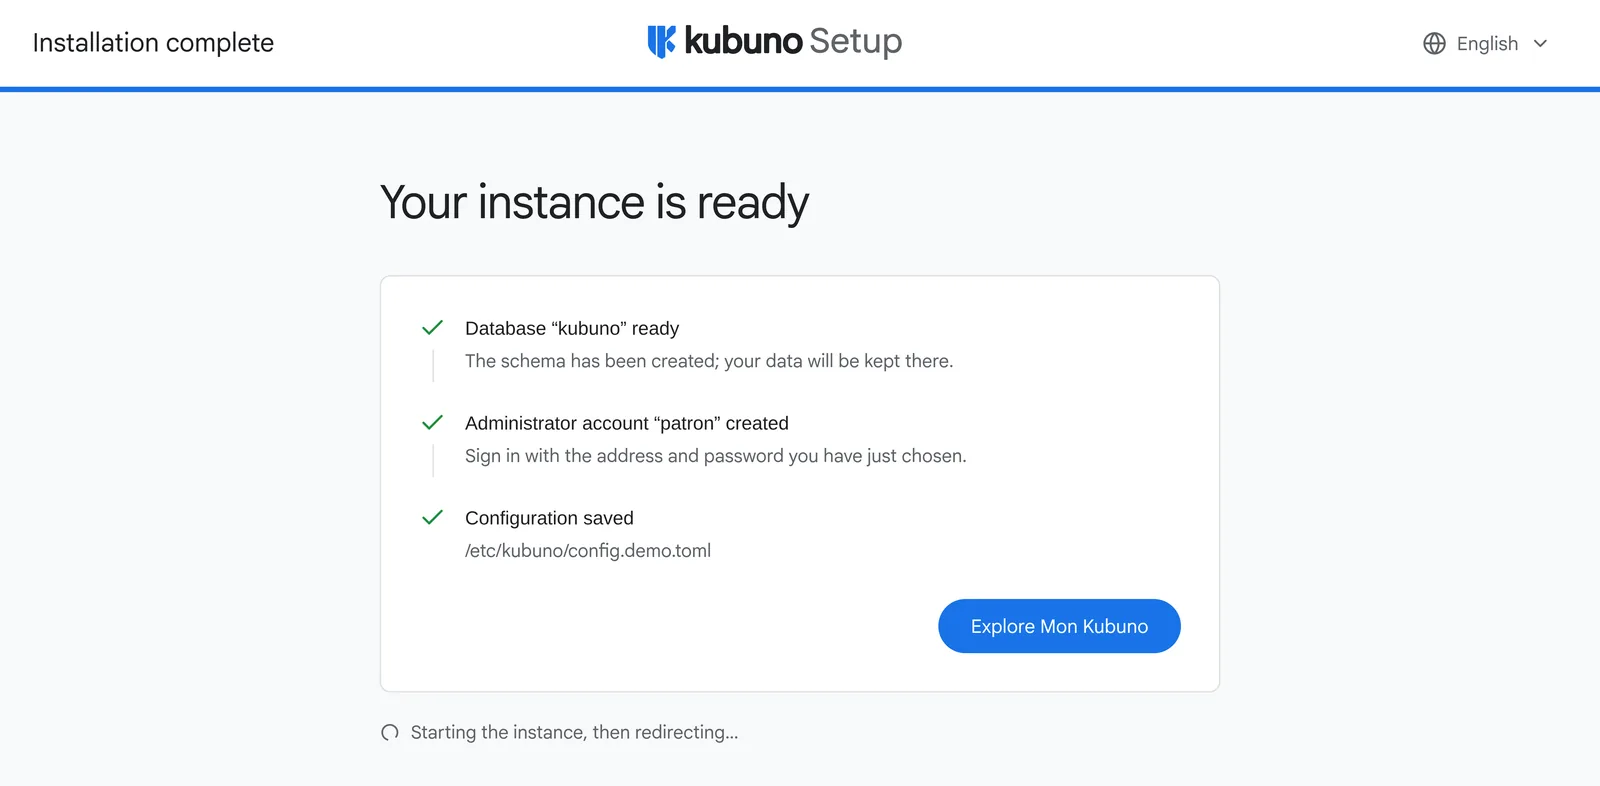
Refreshing the page (F5) mid-installation loses nothing: every step has its own address, and what you typed is kept server-side for the lifetime of the tab.
What comes next #
- Set the public URL and enable HTTPS (see HTTPS & reverse proxy).
- Create the users and their groups.
- Install the modules you want.
Check the system state: systemctl status kubuno and the logs in /var/log/kubuno/. Every registered module shows up with a status (healthy / degraded).